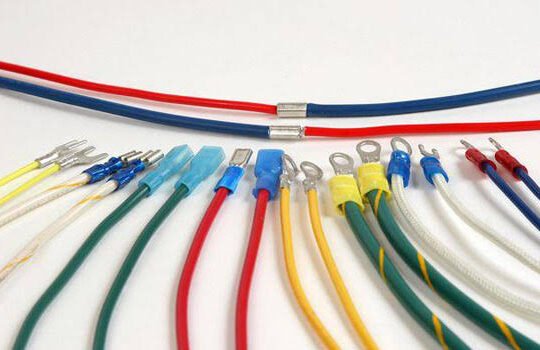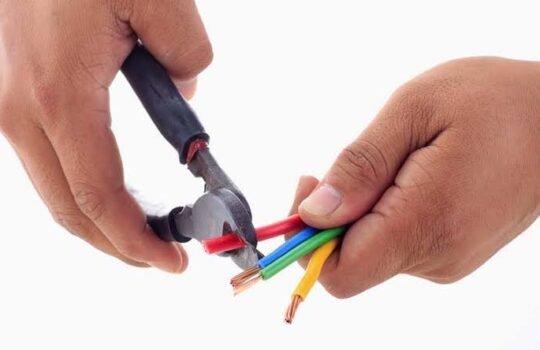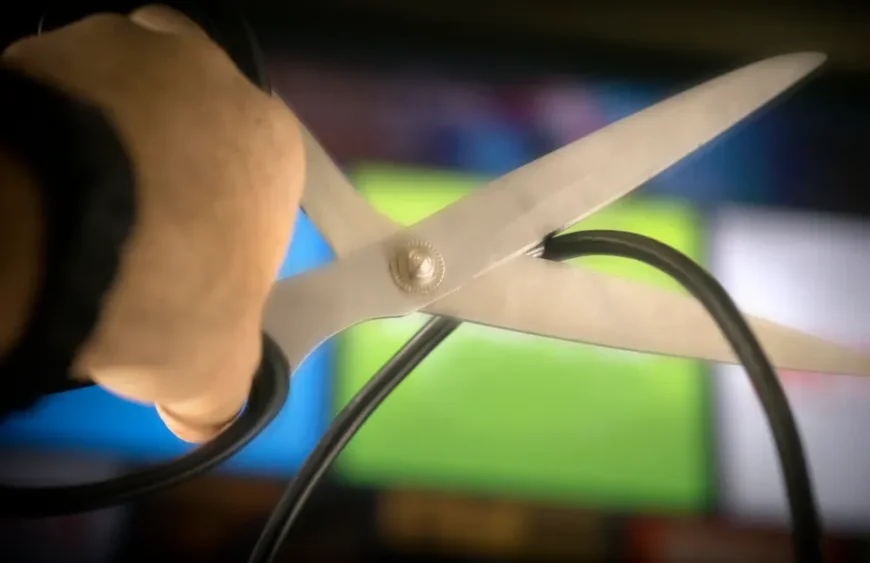
Cable cutting looks like a straightforward job. Measure the cable, pick up the cutter, make the cut, and continue with the installation.
Yet, on a busy worksite, small mistakes can happen surprisingly easily. A cable may be cut a little too short, the wrong tool may be used, or a few strands may get damaged during the process. Sometimes the problem is noticed immediately. Other times, it only becomes obvious when the cable reaches the stripping or termination stage.
That is why good cable cutting is not simply about getting through the cable. It is about producing a clean, usable cable end without compromising the conductor or insulation.
Here are some of the most common cable-cutting mistakes and practical ways to avoid them.
1. Using the Wrong Cutting Tool
One of the most common mistakes is reaching for whatever cutter happens to be nearby.
Electrical cables come in different sizes, materials, constructions, and insulation types. A cutter designed for small conductors may not be suitable for larger cables. Likewise, a tool designed for one type of cable should not automatically be assumed to work properly with another.
Using an undersized or unsuitable cutter can require excessive force and may crush, deform, or damage the cable.
How to avoid it
Before cutting, check the cable size, conductor material, construction, and the tool’s specified cutting capacity.
Choose a cable cutter designed for the application. For larger cables, a ratchet, hydraulic, or other suitable cutting tool may be more appropriate than a standard manual cutter.
The right tool should make the job controlled and predictable rather than a struggle.
2. Cutting Without Measuring Properly
“That’s about the right length” may seem good enough when you’re in a hurry, but it can lead to unnecessary waste and installation problems.
A cable cut too short may not reach the required terminal or connection point. A cable that is much longer than necessary can make routing difficult and increase material consumption.
How to avoid it
Measure the required length carefully before making the cut.
Allow for bends, routing, stripping, termination, and any additional length required by the installation. If several cables need to be prepared, use a consistent measuring method rather than estimating each one individually.
The familiar rule still works well: measure twice and cut once.
3. Cutting the Cable Under Tension
Long cables can be difficult to handle, and it is tempting to pull them tight before cutting. However, unnecessary tension can make positioning more difficult and may affect the way the cable sits in the cutter.
Trying to control a cable while simultaneously holding it under tension can also make the cutting operation less comfortable and less controlled.
How to avoid it
Support longer cables properly and position them so they can be cut without unnecessary tension.
Keep your hands away from the cutting area and make sure the cable is stable before operating the tool.
A controlled cable position makes it easier to produce a clean cut.
4. Applying Too Much Force
When a cable is difficult to cut, the natural reaction is often to squeeze harder.
But excessive force is usually a signal to stop and investigate. The cable may be beyond the tool’s capacity, the cutter may be worn, or the tool may simply be unsuitable for the application.
Forcing a tool can damage its cutting mechanism and may also deform the cable.
How to avoid it
If a familiar cable suddenly becomes difficult to cut, don’t immediately apply more force.
Check the cable specifications and compare them with the tool’s rated capacity. Inspect the cutting edges and moving parts for wear or damage.
If necessary, change to a tool designed for the cable size and construction.
5. Damaging Stranded Conductors
Stranded conductors require particular care because they consist of many individual wires.
An unsuitable cutting action can pull, flatten, break, or distort some of these strands. While a small amount of damage may not be immediately obvious, it can create difficulties during stripping or termination.
How to avoid it
Use a cutter designed for the conductor type and size. Position the cable correctly and use a smooth, controlled cutting action.
After cutting, inspect the conductor end. If strands appear broken, pulled out, or severely distorted, address the problem before proceeding to the next stage.
The aim is not merely to separate the cable but to leave the conductor in good condition.
6. Crushing the Cable Instead of Cutting It
A cable cutter is designed to cut through the cable using a controlled cutting action. An unsuitable tool may instead compress or crush the cable before separating it.
This can distort the conductor and insulation, leaving a cable end that is difficult to prepare properly.
Using general-purpose pliers or an inappropriate cutter may seem convenient, particularly when the correct tool is not immediately available. In practice, it can create more work later.
How to avoid it
Use a cutter with the appropriate cutting geometry and capacity.
For large conductors or heavy-duty cables, select a tool specifically designed for the application. The finished cable end should remain as close as possible to its intended shape.
7. Ignoring the Condition of the Cutting Tool
A cable cutter does not remain in perfect condition forever.
Repeated use gradually affects cutting edges, joints, handles, and other components. Dirt, corrosion, lack of maintenance, or mechanical damage can also affect performance.
One of the easiest warning signs is a change in cutting effort. If a tool that normally handles a particular cable easily suddenly requires significantly more force, something may be wrong.
How to avoid it
Inspect your cutting tools regularly.
Check the cutting edges, handles, joints, locking mechanisms, and other working parts for visible damage or excessive wear. Clean and maintain the tool according to the manufacturer’s recommendations.
If a tool has reached the end of its useful service life, replacing it is usually better than trying to compensate for its poor performance with additional force.
8. Failing to Inspect the Cable After Cutting
It is easy to assume that the job is finished as soon as the cable has been cut.
However, the cut end should be inspected before moving on to stripping or termination.
Look for broken strands, excessive flattening, damaged insulation, uneven cuts, or other signs that the cable may have been compromised.
How to avoid it
Make a quick post-cut inspection part of your normal workflow.
It takes only a few seconds and can prevent a damaged cable from moving further through the installation process.
If the cable end is unsuitable, correct it before continuing.
9. Using the Cutting Tool for Other Jobs
A cable cutter is designed for cutting. It is not automatically suitable for stripping insulation, removing other materials, loosening fasteners, or performing other improvised tasks.
Using a tool outside its intended purpose can damage both the tool and the material.
How to avoid it
Use the appropriate tool for each operation:
- Cable cutter: cutting cable
- Wire stripper: removing insulation
- Crimping tool: attaching terminals
- Cable preparation tool: specific preparation tasks
Specialized tools exist for a reason. Using them correctly improves both efficiency and the quality of the finished connection.
10. Overlooking Cable Construction
Not all cables behave the same way during cutting.
A cable’s conductor material, number of strands, insulation, shielding, outer jacket, and overall construction can influence the cutting process.
Two cables may have similar outside diameters but require different cutting approaches.
How to avoid it
Don’t select a cutting tool based only on how thick the cable looks.
Check the cable specification and compare it with the manufacturer’s recommended tool application. When working with an unfamiliar cable, take the time to understand its construction before cutting.
11. Rushing the Job
Perhaps the most common mistake is simply rushing.
Cable cutting can feel repetitive, particularly when dozens or hundreds of cables need to be prepared. That is when small shortcuts start appearing—estimating lengths, grabbing the nearest tool, skipping inspection, or ignoring signs of tool wear.
Unfortunately, repetition is exactly when consistency matters most.
How to avoid it
Develop a simple routine:
Identify → Measure → Select the Tool → Position → Cut → Inspect.
Following the same sequence each time makes it easier to catch mistakes before they become costly.
Why Good Cable Cutting Matters
Cable cutting is only one step in the installation process, but it affects everything that comes afterward.
A damaged conductor can make stripping difficult. A deformed cable end can complicate termination. An incorrectly measured cable can create routing problems. And repeated use of an unsuitable tool can result in unnecessary tool wear.
Good cable preparation starts with a clean cut.
It is also worth remembering that cable quality is not determined by the cutting tool alone. The operator, cable, tool condition, correct capacity, and preparation method all contribute to the final result.
Final Thoughts
Cable cutting may be a small task, but doing it properly can make the rest of an electrical installation much easier.
The key is not to overcomplicate the process. Use the right tool, check its condition, measure carefully, position the cable properly, and avoid forcing the cutter. Once the cut is complete, take a moment to inspect the cable before moving on.
These habits take very little time, but they can prevent damaged conductors, wasted cable, unnecessary tool wear, and problems during termination.
A clean cable cut is more than a neat finish. It is the first step toward a reliable electrical connection.