A cable termination may look like the final, almost routine step of an electrical installation. The cable has been measured, cut, and prepared. The terminal is in place, the tool is ready, and a few seconds later the connection is complete.
But that small connection can have a big responsibility.
A poorly terminated cable can develop excessive resistance, loosen over time, create heat, or cause intermittent electrical problems. In contrast, a properly prepared and terminated cable can provide a stable connection that continues to perform under everyday electrical and mechanical stress.
Reliable termination does not usually come from one complicated technique. It comes from getting several small details right, every time.
Here are 10 practical best practices that can help improve cable termination quality.
1. Choose the Correct Terminal
The termination process starts with selecting the right terminal for the application.
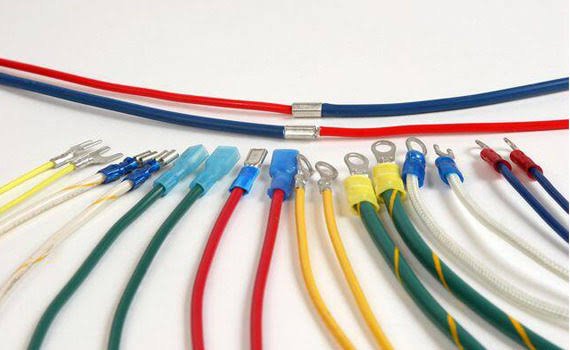
Terminals are available in different sizes, materials, designs, and connection types. The terminal must be compatible with the conductor size and construction.
Using a terminal that is too large may prevent proper contact with the conductor. A terminal that is too small may be difficult to assemble correctly and can damage the conductor during preparation.
Before starting, check the terminal manufacturer’s specifications and confirm that it matches the cable and application.
2. Use the Right Crimping Tool
A good terminal cannot compensate for unsuitable tooling.
The crimping tool and die should be compatible with the terminal and conductor combination. Different terminal designs may require different crimp profiles and tooling.
Avoid choosing a tool simply because it physically fits the terminal.
The correct tool should produce the intended crimp geometry consistently. Where applicable, use tooling specified or recommended for the terminal being installed.
3. Prepare the Cable Carefully
Reliable termination begins before the terminal is attached.
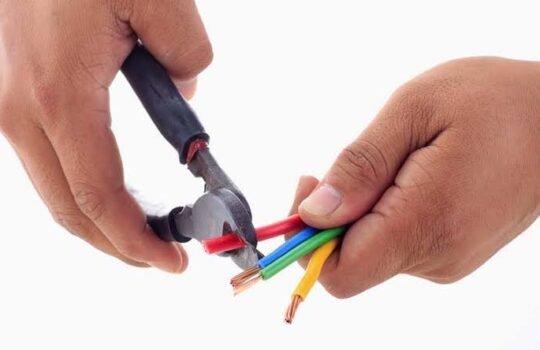
Cut the cable cleanly and strip the insulation using an appropriate stripping tool. Avoid cutting, nicking, or removing conductor strands during preparation.
The stripped conductor should be clean and suitable for insertion into the terminal.
If the conductor has been damaged during preparation, don’t assume the crimp will correct the problem. Correct the cable preparation first.
4. Strip the Correct Length
Stripping too much or too little insulation can affect the finished termination.
If too little insulation is removed, the conductor may not reach the required position inside the terminal. If too much is removed, unnecessary conductor may be exposed outside the terminal.
The correct strip length depends on the terminal design and manufacturer requirements.
A simple habit can help: use a consistent stripping method rather than estimating the length by eye every time.
5. Insert the Conductor Correctly
Once the conductor has been stripped, insert it fully into the terminal as specified.
The conductor should reach the appropriate position within the barrel. Avoid twisting, spreading, or unnecessarily disturbing the strands.
For stranded conductors, make sure the strands remain together and that none are left outside the terminal.
Correct insertion is easy to overlook, particularly when working quickly, but it has a direct effect on the quality of the finished connection.
6. Position the Terminal Correctly in the Tool
Before applying crimping force, make sure the terminal is positioned correctly in the crimping tool.
The terminal should sit in the appropriate die or crimping area. Incorrect positioning can result in an uneven crimp or deformation outside the intended region.
For repeatable work, this positioning step should become automatic.
A few seconds of attention before crimping can prevent the need to remake an entire termination later.
7. Apply the Correct Crimping Force
More force does not necessarily mean a better connection.
An under-crimped terminal may not grip the conductor sufficiently. An over-crimped terminal can damage the conductor or terminal and alter the intended geometry.
The objective is controlled deformation.
Use the appropriate tool and follow the manufacturer’s specified crimping procedure. Where the tool is designed to complete a controlled crimp cycle, allow it to operate as intended rather than trying to improvise the process.
8. Inspect the Finished Termination
Never assume a termination is good simply because the tool has completed its cycle.
Take a moment to inspect the finished connection.
Look for signs such as:
- Uneven or incomplete crimping
- Damaged terminal material
- Broken or exposed conductor strands
- Excessive deformation
- Incorrect conductor position
- Insulation trapped in an unintended area
Visual inspection will not identify every possible defect, but it can catch many obvious problems before the connection is installed.
9. Verify the Connection When Required
Visual inspection is useful, but some applications require additional verification.
Depending on the installation and quality requirements, checks may include mechanical pull testing, electrical resistance testing, dimensional measurements, or other specified inspection methods.
For production environments, documented inspection procedures can help maintain consistency across large numbers of terminations.
The important point is to match the level of verification to the requirements of the application.
10. Protect the Finished Termination
The job does not necessarily end when the terminal has been crimped.
The finished connection may need protection from moisture, vibration, contamination, mechanical stress, or accidental contact, depending on where it will be installed.
Follow the requirements of the terminal and cable system. Use appropriate insulation, sealing, strain relief, or other protective measures where specified.
Also make sure the cable is routed without putting unnecessary bending or pulling force directly onto the terminal.
A good termination can still be compromised by poor installation afterward.
Don’t Forget the Human Factor
Even with the best tools and components, consistency depends heavily on the person doing the work.
When technicians are under time pressure, familiar tasks can become rushed. A cable may not be stripped to the correct length, a terminal may not be fully inserted, or a quick visual inspection may be skipped.
This is why simple processes are valuable.
A repeatable sequence such as:
Prepare → Strip → Insert → Position → Crimp → Inspect → Verify
can make quality easier to maintain.
Training also matters. Operators should understand not only how to use the tool but why each step matters.
Signs That a Termination Needs Attention
A termination should be investigated if it shows obvious physical damage, loose conductor strands, unusual deformation, incomplete crimping, or other abnormalities.
Likewise, repeated failures or inconsistent results may indicate a deeper issue with the tool, terminal, conductor, or process.
Don’t keep producing the same questionable connection simply because the previous one appeared to work.
Finding a problem early is much easier than troubleshooting a failed installation later.
Final Thoughts
Reliable cable termination is built from small decisions.
It starts with the right terminal and cable. It continues with proper preparation, compatible tooling, correct positioning, controlled crimping, and careful inspection. In demanding applications, verification and protection add another layer of confidence.
The process may seem repetitive, but that consistency is exactly what makes it reliable.
A good termination should not depend on luck or a technician having a particularly good day. It should come from a repeatable process that produces the right result again and again.
When the right materials, tools, techniques, and inspection practices come together, a small cable termination becomes what it should be: a dependable connection that can do its job quietly for years.