
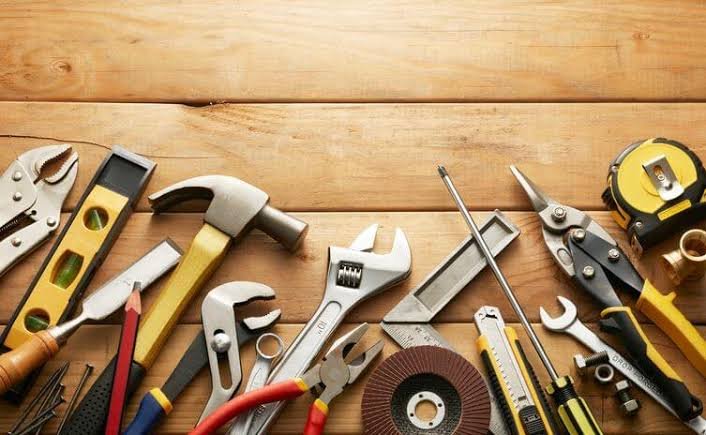
A professional electrician can use the same crimping tool hundreds or even thousands of times. A cable cutter may look almost exactly the same after months of use. A wire stripper may still feel familiar in the hand.
That familiarity can sometimes create a problem.
When a tool has been used repeatedly without issues, it is easy to assume it will perform safely the next time as well. But tools experience wear every time they are used. Jaws move, cutting edges become dull, handles can loosen, springs can weaken, and components can develop damage that is not immediately obvious.
That is why a simple inspection before use matters.
Tool inspection does not have to be complicated or time-consuming. In many cases, a careful visual and functional check takes only a few moments. Those moments can help identify problems before they affect the job, the tool, or the person using it.
What Does Tool Inspection Mean?
Tool inspection is the process of checking a tool before use to make sure it is in suitable condition for the intended task.
For electrical hand tools, this can include checking the physical condition of the tool, moving parts, handles, cutting surfaces, jaws, locking mechanisms, and markings.
The exact inspection requirements depend on the type of tool and the application. A cable cutter, for example, will require attention to its cutting mechanism, while a crimping tool requires particular attention to its jaws and dies.
The basic principle is simple:
Before asking a tool to do a job, make sure the tool is ready to do that job.
Why Can Tools Become Unsafe?
Tools do not necessarily fail suddenly.
Wear often develops gradually. A crimping tool may begin producing slightly inconsistent crimps. A cutter may require more force than it used to. A handle may develop movement. A locking mechanism may become unreliable.
These changes can be easy to overlook because they happen slowly.
Regular inspection helps identify these early warning signs.
Tools can also be damaged by misuse. Using a cable cutter on material beyond its specified capacity, dropping a tool, exposing it to corrosive conditions, or using the wrong accessory can affect its condition.
Even a tool that looks robust can be affected by repeated overloading.
What Should You Check Before Using a Hand Tool?
The inspection should match the tool, but several basic checks apply to many electrical hand tools.
1. Check the Overall Condition
Start with a quick visual inspection.
Look for cracks, broken components, excessive corrosion, loose parts, or signs of impact damage.
Pay particular attention to areas that carry mechanical loads. If a component looks distorted or damaged, do not simply assume it will continue working normally.
A clean tool is also easier to inspect. Dirt, grease, or accumulated debris can hide wear and damage.
2. Inspect the Handles
Handles are often taken for granted, especially on manual tools.
Check whether the handles are secure and free from cracks or excessive wear. If the tool has insulated handles, look for cuts, splits, exposed areas, or other damage to the insulation.
An insulated handle should not be treated as a decorative covering. Its condition is part of the tool’s safety characteristics.
If insulation is damaged, follow the manufacturer’s guidance and applicable workplace procedures rather than continuing to use the tool simply because the mechanical parts still work.
3. Check Moving Parts
Open and close the tool slowly.
Does the movement feel smooth? Is there unusual resistance? Does anything feel loose or uneven?
For a crimping tool, pay attention to the movement of the jaws and the condition of the crimping dies.
For a cable cutter, check whether the cutting mechanism moves properly and returns as intended.
Unusual movement can be an early indication that the tool needs cleaning, lubrication, adjustment, repair, or replacement.
4. Examine Cutting Edges and Jaws
For cutters and strippers, inspect the cutting edges for damage, excessive wear, or deformation.
A dull or damaged cutting edge may encourage the user to apply excessive force. That can make the job harder and place additional stress on both the tool and the operator.
For crimping tools, inspect the crimping jaws or dies for wear, cracks, deformation, or contamination.
The crimp profile needs to remain consistent for the tool to perform as intended.
5. Check the Locking Mechanism
Some hand tools include locking mechanisms to keep the tool closed during storage.
Make sure the mechanism operates correctly and does not interfere with normal tool movement.
A damaged lock may seem like a minor inconvenience, but it can indicate that another part of the tool has also been affected.
6. Look for Contamination or Corrosion
Electrical tools are often used in environments where dust, moisture, oil, chemicals, or other contaminants may be present.
Check for rust or corrosion, especially around moving components and working surfaces.
Contamination can affect movement and, depending on the tool, may affect the quality of the finished connection.
Clean tools according to the manufacturer’s recommendations. Avoid using cleaning products or lubricants that could damage tool materials or insulation.
Pay Attention to How the Tool Performs
Inspection should not be limited to looking at the tool.
Think about how it performed during the previous job.
Did the cutter suddenly require more force? Did the crimping tool produce inconsistent results? Did the mechanism feel rough? Did the tool make an unusual sound?
These observations are valuable.
A tool can pass a quick visual inspection and still have a performance issue. If something feels different from normal, stop and investigate rather than ignoring the change.
What About Calibration and Verification?
Some tools require more than a basic pre-use inspection.
Precision crimping tools, torque tools, testing equipment, and other application-specific tools may need periodic calibration, verification, or performance checks according to manufacturer instructions and applicable procedures.
This is particularly important where connection quality or measurement accuracy is critical.
A tool can look physically perfect while still being out of specification.
That is why a good maintenance program combines pre-use inspection with appropriate periodic servicing and verification.
Never Ignore a Damaged Tool
One of the most important inspection habits is knowing what to do when a problem is found.
If a tool appears damaged or unsuitable for the task, don’t put it back into the toolbox and hope someone else notices it later.
Depending on workplace procedures, the tool may need to be removed from service, clearly identified, repaired, tested, or replaced.
A damaged tool should never be used simply because there is a deadline or because the correct replacement is not immediately available.
Finding a problem during inspection is not a failure of the inspection process. It is exactly what the inspection is supposed to accomplish.
Make Inspection a Habit, Not a Formality
The most effective inspections are consistent.
Before starting work, develop a simple routine: look at the tool, check its working parts, confirm that it is suitable for the application, and pay attention to anything that feels unusual.
For workplaces with multiple users, clear inspection and maintenance procedures can help ensure that tools receive consistent attention.
Training also matters. Users should understand what normal tool condition looks and feels like and know when a tool should be removed from service.
Keynotes
A tool inspection may take only a few moments, but its value goes far beyond those few moments.
It can identify worn components before they affect performance. It can reveal damage that may otherwise go unnoticed. It can prevent an unsuitable tool from being used for the wrong application.
Most importantly, inspection creates a simple pause between picking up a tool and putting it to work.
That pause is worth developing into a habit.
Whether it is a crimping tool, cable cutter, wire stripper, or another electrical hand tool, don’t wait for a problem to become obvious. Check the tool before the job starts, use it within its intended limits, and take unusual wear or damage seriously.
Good tool safety begins long before the first cut or crimp. It begins with knowing that the tool in your hand is ready for the job.
