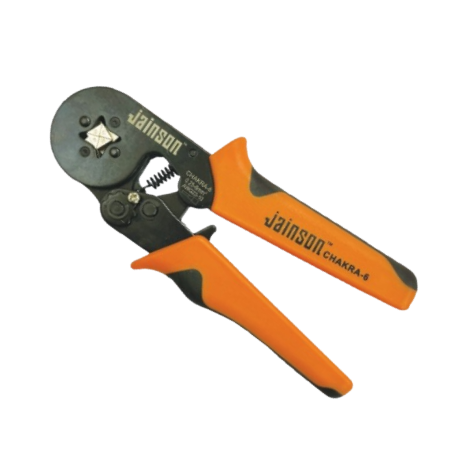
A crimping tool is one of the most important pieces of equipment in electrical installation and cable termination. Whether you’re working on industrial control panels, power distribution systems, automotive wiring, or renewable energy projects, the quality of every crimp depends on the condition of your tool.
Like any precision equipment, crimping tools experience wear over time. Regular use, exposure to dust and moisture, and lack of maintenance can gradually reduce their performance. A worn or poorly maintained tool doesn’t just affect productivity—it can create weak electrical connections that may lead to overheating, equipment failure, or expensive downtime.
The good news is that your crimping tool usually gives clear warning signs before serious problems occur. Recognizing these signs early allows you to perform maintenance, replace worn components, or recalibrate the tool before it affects your work.
Here are ten common signs that your crimping tool needs attention.
1. Crimps Are No Longer Consistent
One of the first indicators of a maintenance issue is inconsistent crimp quality.
If identical cable lugs and wire sizes produce different results each time, the tool may no longer be applying uniform pressure. Some crimps may feel secure while others appear loose or uneven.
Inconsistent crimps often result from worn dies, misalignment, damaged moving parts, or excessive wear inside the tool mechanism. Since consistency is essential for reliable electrical connections, this is a sign that should never be ignored.
2. You Need More Force Than Before
A crimping tool should operate smoothly with the amount of force it was designed to require.
If you suddenly find yourself squeezing harder or struggling to complete a crimp, internal friction may be increasing. Dirt, dried lubricant, worn pivots, or damaged hydraulic components can all make the tool more difficult to operate.
Besides slowing down your work, excessive force increases operator fatigue and can affect the quality of the finished crimp.
3. The Dies Show Visible Wear
Crimping dies are precision-engineered components that determine the shape and quality of every crimp.
Over time, repeated use can wear down the die surfaces. You may notice rounded edges, scratches, small cracks, corrosion, or deformation.
Worn dies no longer compress connectors evenly, which can result in poor electrical contact and reduced mechanical strength. Inspecting dies regularly is one of the simplest ways to maintain consistent performance.
4. Connections Feel Loose After Crimping
A properly crimped terminal should firmly grip the conductor.
If you can pull the wire out with minimal effort or notice movement inside the connector, the crimp may not have been completed correctly.
While incorrect connector selection can cause this issue, it is also a common symptom of a crimping tool that is no longer producing sufficient compression force.
Loose connections increase electrical resistance and can eventually lead to overheating or failure.
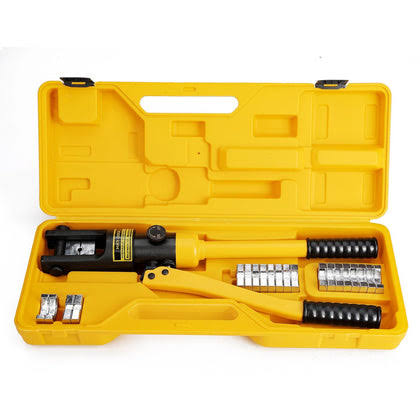
5. Hydraulic Tools Lose Pressure
For hydraulic crimping tools, pressure is everything.
If the tool struggles to reach full pressure, requires repeated pumping, or fails to complete the crimp cycle, it may be experiencing hydraulic issues.
Possible causes include leaking seals, low hydraulic fluid, worn internal components, or air trapped within the hydraulic system.
Routine inspection and servicing help restore proper operating pressure and prevent more expensive repairs.
6. Moving Parts Feel Stiff or Rough
A well-maintained crimping tool should open and close smoothly.
If the handles stick, the ratchet mechanism feels rough, or moving parts hesitate during operation, dirt and debris may have accumulated around the pivot points.
Old lubricant can also harden over time, increasing friction.
Cleaning the tool and applying the recommended lubricant often restores smooth operation and reduces wear on internal components.
7. The Ratchet Mechanism Doesn’t Function Properly
Many manual crimping tools use a ratchet mechanism to ensure that each crimp is completed before the tool releases.
If the ratchet slips, releases too early, fails to lock, or jams during operation, the mechanism may require cleaning, adjustment, or replacement.
A faulty ratchet can produce incomplete crimps, reducing both safety and connection reliability.
Ignoring this problem can lead to repeated installation failures.
8. Rust or Corrosion Is Appearing
Crimping tools are often used in construction sites, factories, outdoor installations, and humid environments.
Moisture can gradually cause rust on steel components, especially if the tool is stored improperly.
Surface corrosion not only affects appearance but can interfere with moving parts, reduce precision, and shorten the tool’s lifespan.
After each job, wipe the tool clean, remove moisture, and store it in a protective case whenever possible.
9. The Tool Is Producing Damaged Connectors
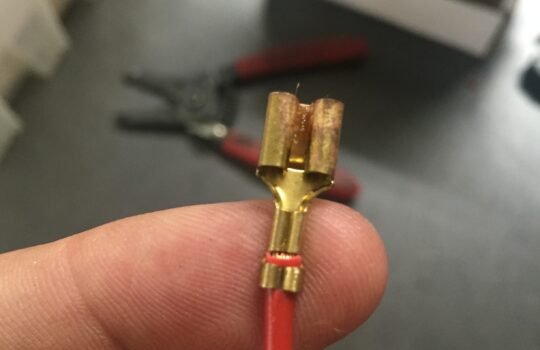
Instead of forming a clean, uniform crimp, a worn tool may begin crushing, cracking, or deforming cable lugs.
This usually indicates damaged dies, incorrect alignment, or excessive wear in the tool mechanism.
Damaged connectors should never be installed because they may fail under load or create high-resistance electrical joints.
If connector damage becomes frequent, inspect the tool before continuing any work.
10. It’s Been a Long Time Since the Last Inspection
Sometimes the biggest warning sign isn’t visible at all.
Many professionals use their crimping tools every day but rarely inspect or service them. Even if the tool appears to be working normally, months—or years—of continuous use can gradually affect accuracy.
Preventive maintenance is always more cost-effective than repairing a failed tool or replacing faulty electrical installations.
A simple maintenance routine that includes cleaning, lubrication, inspection of dies, checking fasteners, and verifying proper operation can significantly extend the life of your equipment.
Simple Maintenance Tips to Keep Your Crimping Tool in Top Condition
Maintaining a crimping tool doesn’t have to be complicated. A few minutes of care after each project can make a noticeable difference.
Here are a few best practices:
- Clean the tool after every use to remove dust and metal particles.
- Lubricate pivot points and moving components as recommended by the manufacturer.
- Inspect dies regularly for wear or damage.
- Store the tool in a clean, dry case to prevent corrosion.
- Replace worn parts before they affect crimp quality.
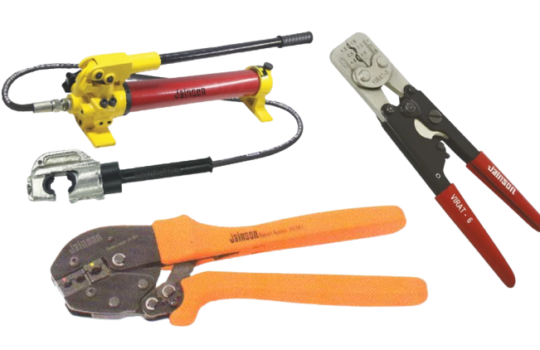
- Schedule periodic inspections for heavily used manual and hydraulic tools.
- Follow the manufacturer’s maintenance guidelines for calibration and servicing.
These simple habits help maintain accuracy, improve operator safety, and reduce unexpected downtime.
Conclusion
Your crimping tool plays a critical role in creating safe and reliable electrical connections. Ignoring signs of wear can result in poor crimps, failed installations, and costly repairs.
By watching for inconsistent crimps, increased operating force, worn dies, hydraulic pressure loss, sticking mechanisms, corrosion, or damaged connectors, you can identify maintenance needs before they become serious problems.
Regular cleaning, inspection, and timely servicing not only extend the life of your crimping tool but also ensure every crimp meets the high standards expected in professional electrical work. A well-maintained tool is an investment in quality, efficiency, and long-term reliability.