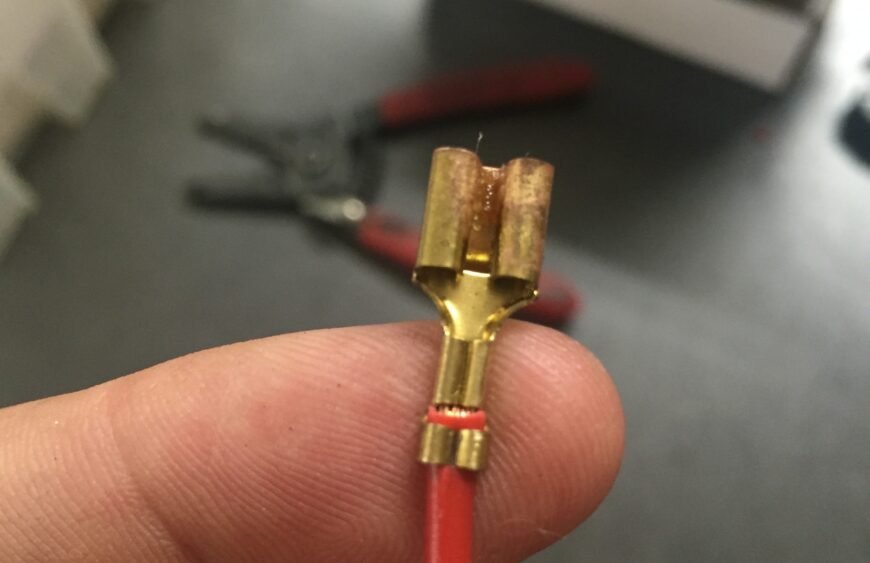
A crimped connection can look simple. Place a terminal on a wire, apply the crimping tool, and squeeze. Done.
But anyone who has worked with electrical wiring knows that a reliable crimp is about much more than making a terminal grip the wire. A properly made crimp creates a secure mechanical connection and a dependable electrical path that can continue performing under vibration, temperature changes, moisture, and everyday use.
The challenge is that a poor crimp may look perfectly acceptable at first glance. The real problem often appears later—through increased electrical resistance, heat generation, intermittent connections, or even complete failure.
So, what actually makes a crimp a proper crimp?
What Is a Proper Crimp?
A proper crimp is a connection in which the terminal and conductor are compressed together with the correct amount of force and in the correct position. The goal is to create a mechanically secure connection while maintaining good electrical conductivity.
During crimping, the terminal barrel is deformed around the conductor. This deformation should be controlled rather than excessive. The conductor should be held firmly enough that it does not pull out under the expected mechanical load, while the terminal should not be damaged or crushed beyond its intended shape.
In simple terms, a good crimp should achieve three things:
- Strong mechanical grip
- Low and stable electrical resistance
- Consistent, repeatable results
Getting all three requires the right combination of terminal, conductor, crimping tool, die, and technique.
What Does a Good Crimp Look Like?
Visual inspection is one of the first checks anyone can make, and it can reveal many obvious problems.
A good crimp generally has a clean, controlled deformation in the intended area of the terminal. The terminal should not be cracked, excessively flattened, or visibly distorted outside the crimp zone.
The conductor should also be positioned correctly inside the terminal. Depending on the terminal design, the wire should extend into the barrel to the appropriate depth, while the insulation should remain outside the conductor crimp area unless the terminal is specifically designed for insulation support.
There should also be no loose strands sticking out around the terminal.
However, visual appearance alone is not enough. A crimp can look neat and still fail a mechanical or electrical test. That is why quality inspection should go beyond simply asking, “Does it look okay?”
Key Indicators of Crimp Quality
1. Correct Wire Position
The conductor needs to be inserted to the correct depth before crimping.
If the wire is inserted too far or not far enough, the crimp may not engage the intended section of the conductor. This can reduce mechanical strength and affect electrical performance.
For repeatable production work, controlling wire insertion depth is particularly important.
2. Proper Crimp Location
The crimp should be made in the area specified for the particular terminal. Using the wrong section of the barrel or positioning the die incorrectly can produce an uneven or ineffective connection.
This is one reason why choosing a compatible crimping tool and die matters so much.
3. Secure Mechanical Grip
A properly crimped terminal should hold the conductor firmly.
If the conductor can be pulled out easily by hand, something is clearly wrong. For applications where connection reliability is critical, manufacturers may use pull-force testing to verify that the crimp meets the required mechanical performance.
The exact acceptable force depends on factors such as conductor size, terminal design, material, and applicable specifications.
4. Consistent Crimp Shape
Consistency is a major indicator of process quality.
If ten terminals are crimped using the same tool, wire, and terminal combination, their finished crimps should be reasonably consistent. Large differences in appearance may indicate incorrect tool use, worn dies, inconsistent wire positioning, or unsuitable components.
Consistency becomes even more important in manufacturing, where hundreds or thousands of connections may need to perform reliably.
5. No Damaged Strands
The conductor should remain intact during preparation and crimping.
Cutting or nicking strands while stripping insulation can reduce the effective conductor cross-section. Excessive force during crimping can also damage the wire or terminal.
A clean stripping process followed by controlled crimping helps maintain the integrity of the connection.
Common Crimping Defects
Not every failed crimp looks dramatically wrong. Some defects are subtle, which is why understanding common failure patterns is useful.
Under-Crimping
An under-crimped terminal has not been compressed sufficiently around the conductor.
The result may be a weak mechanical connection and higher electrical resistance. The conductor may also move within the terminal, increasing the risk of connection failure over time.
Over-Crimping
Applying excessive force can deform the terminal too much.
An over-crimped connection may damage the terminal or conductor and can alter the intended geometry of the connection. More pressure does not automatically mean a stronger crimp.
The objective is controlled deformation, not maximum deformation.
Incorrect Die or Tool
Using a die that does not match the terminal can produce an improper crimp even when the operator follows the correct technique.
Different terminals and conductor sizes can require different tooling profiles. A tool that works well for one application may not be suitable for another.
Poor Wire Stripping
A good crimp starts before the crimping tool is even used.
If insulation is cut into the conductor, strands are removed, or too much insulation is stripped, the final connection can be compromised.
Good cable preparation is therefore an essential part of crimp quality.
Misaligned Crimp
A crimp made outside the intended area can create uneven pressure and an unreliable connection. Misalignment can also damage the terminal.
The terminal should be positioned correctly in the tool before the crimp cycle begins.
How Can Crimp Quality Be Verified?
For basic applications, visual inspection and a simple mechanical check can identify obvious problems. More demanding applications may require defined inspection and testing procedures.
Depending on the application, quality checks can include:
- Visual inspection
- Conductor insertion checks
- Crimp height measurement
- Pull-out or tensile testing
- Electrical resistance testing
- Tool and die inspection
- Periodic calibration or verification of tooling
These checks help identify problems before they become field failures.
It is also worth remembering that crimp quality is not controlled by the tool alone. The wire, terminal, tooling, operator technique, and process settings all contribute to the final result.
The Role of the Crimping Tool
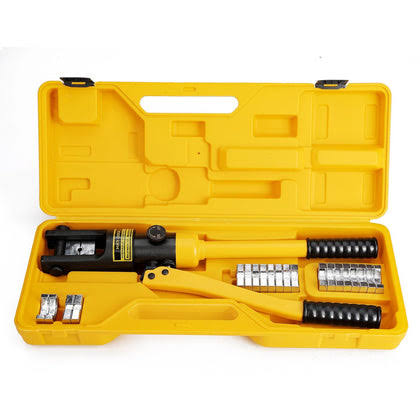
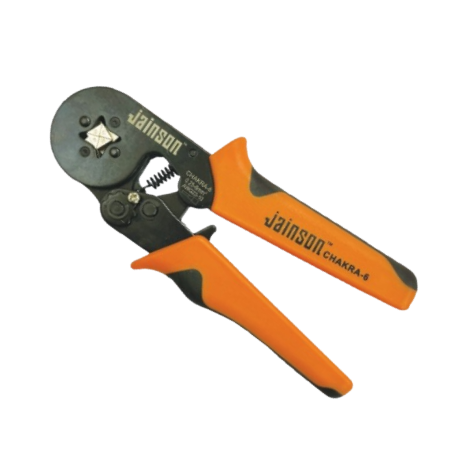
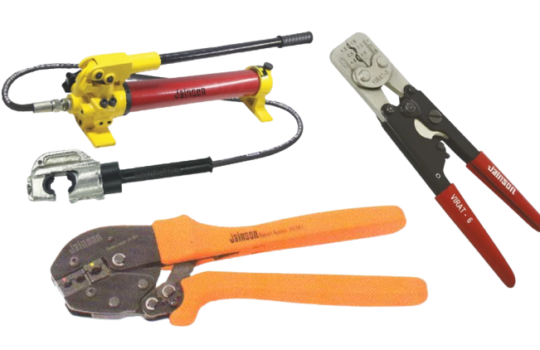
A quality crimping tool provides controlled and repeatable deformation. The right tool should match the terminal and conductor size for the application.
For manual tools, features such as proper die geometry, ergonomic operation, controlled crimping action, and appropriate material strength can influence consistency.
Tool condition matters too. Worn dies, damaged jaws, loose components, or poorly maintained mechanisms can gradually affect crimp quality.
Regular inspection is therefore not simply a maintenance exercise—it is part of connection quality control.
Why Crimp Quality Matters
A poor crimp may save a few seconds during installation, but the consequences can last much longer.
An unreliable electrical connection can lead to voltage drop, localized heating, intermittent operation, equipment downtime, or premature component failure. In applications exposed to vibration, temperature variation, or environmental conditions, a weak connection can become even more problematic over time.
A proper crimp, on the other hand, provides a dependable connection designed to perform consistently throughout its intended service life.
Keynotes
A proper crimp is not defined simply by how neat it looks. It is the result of the right wire, the right terminal, the right tooling, correct positioning, and controlled application of force.
The best approach is to treat crimping as a process rather than a single squeeze of a tool. Start with proper cable preparation, use compatible components, position the terminal and conductor correctly, inspect the finished connection, and verify performance where the application requires it.
When these small details are controlled, a crimped connection becomes more than just a joined wire and terminal—it becomes a reliable part of the electrical system.